Quark D2000 Development Board
Overview
The Intel® Quark™ microcontroller D2000 package is shipped as a 40-pin QFN component.
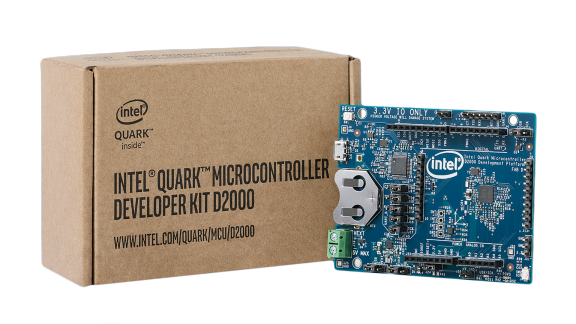
Intel® Quark™ microcontroller D2000 contains the following items:
- On-board components:
- Accelerometer/Magnetometer sensor
- UART/JTAG to USB convert for USB debug port
- Expansion options:
- “Arduino Uno” compatible SIL sockets ( 3.3V IO Only )
- Other connectors:
- 1x USB 2.0 Device Port - micro Type B
- On-board coin cell battery holder
- 5V input a screw terminal/header (external power or Li-ion)
- EEMBC power input header
Hardware
General information for the board can be found at the Intel Website, which includes both schematics and BRD files.
The Intel® Quark™ Microcontroller D2000 Development Platform supports the familiar open standard Arduino Uno Rev 3.0 physical interface and is mechanically compatible with Uno Rev 3.0. It does not support the 6 pin ICSP Header.
Supported Features
| Interface | Controller | Driver/Component |
|---|---|---|
| MVIC | on-chip | interrupt_controller |
| UART | on-chip | serial port-polling; serial port-interrupt |
| SPI | on-chip | spi |
| I2C | on-chip | i2c |
| GPIO | on-chip | gpio |
| PWM | on-chip | pwm |
Programming and Debugging
The D2000 board configuration details are found in the project’s tree at
boards/x86/quark_d2000_crb.
Applications for the quark_d2000_crb board configuration can be built and
flashed in the usual way (see Build an Application and
Run an Application for more details).
Flashing
Since the board has a built-in JTAG; it is possible to flash the device through the USB only. Set the following jumpers to enable the built-in JTAG:
Jumper UART Common JTAG Name J9 Open X X TDO J10 Open X X TDI J11 Open X X TRST J12 X N/A X TMS J17 X N/A X TCK Connect the D2000 via USB to the host computer.
Build and flash a Zephyr application. Here is an example for the Hello World application.
# On Linux/macOS
cd $ZEPHYR_BASE/samples/hello_world
mkdir build && cd build

# On Windows
cd %ZEPHYR_BASE%\samples\hello_world
mkdir build & cd build


# Use cmake to configure a Ninja-based build system:
cmake -GNinja -DBOARD=quark_d2000_crb ..

# Now run ninja on the generated build system:
ninja
ninja flash
Debugging
You can debug an application in the usual way. Here is an example for the Hello World application.
# On Linux/macOS
cd $ZEPHYR_BASE/samples/hello_world
# If you already made a build directory (build) and ran cmake, just 'cd build' instead.
mkdir build && cd build

# On Windows
cd %ZEPHYR_BASE%\samples\hello_world
# If you already made a build directory (build) and ran cmake, just 'cd build' instead.
mkdir build & cd build

# If you already made a build directory (build) and ran cmake, just 'cd build' instead.

# Use cmake to configure a Ninja-based build system:
cmake -GNinja -DBOARD=quark_d200_crb ..

# Now run ninja on the generated build system:
ninja debug